How to make paint leave a trail in Three.js
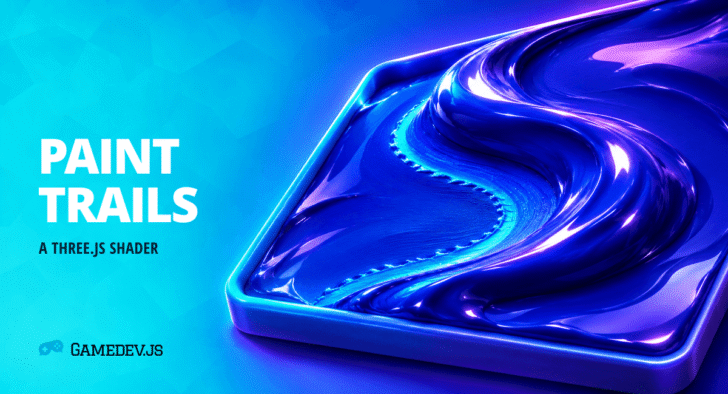
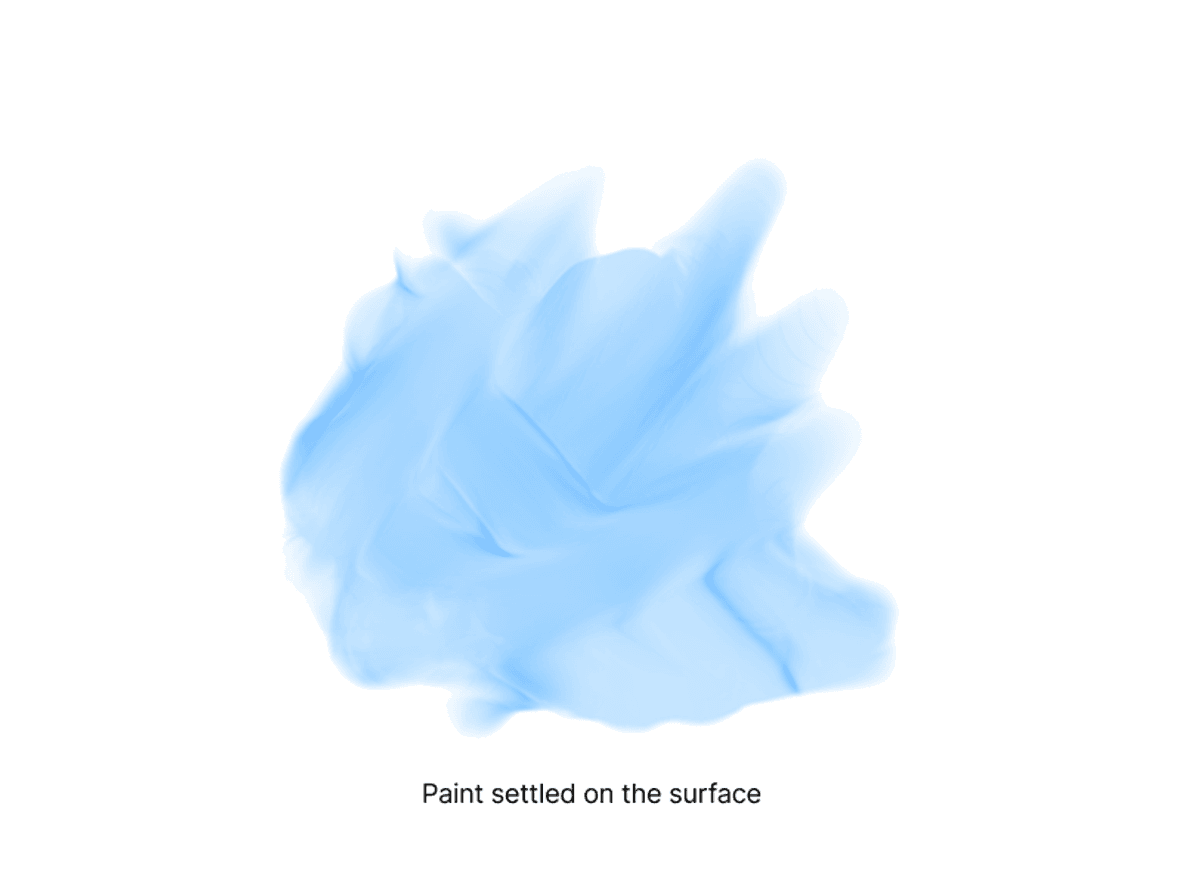
Drag a finger through a blob of blue paint. A ridge builds up in front of your finger, but the patch you just crossed is still blue. Those two details tell you different things about the same stroke. One tells you where the paint is thick now. The other tells you where it has been. Misaki Nakano’s interactive Three.js demo lets you pull the two apart just by dragging slowly across the surface.
Nakano originally developed the effect for a Japanese cosmetics project in 2021, then published the breakdown on November 1. The blue version is a particularly good reference for web games. Think of slime tracking across a dungeon floor, for example. The shiny lump should catch the light as it moves. The stain should stick around long enough for a player to follow the trail back to its owner.
Give thickness and colour separate jobs
Nakano’s earlier fluid simulation provides a velocity field, a texture that says which way material is moving at each point. The new demo adds a height map to store how much paint is present. For each pixel, the shader looks backwards along the flow to find paint moving into that spot. It reads the previous height texture and writes the next one, then swaps the two textures for the following frame.
A second texture remembers the strongest coverage each pixel has seen. The demo mixes that maximum equally with the current coverage. Imagine a pixel that once reached a coverage of 0.8 and has since emptied completely. Its stored maximum is still 0.8, so the blend leaves 0.4 before the final shading step. Two spots with the same current thickness can show different amounts of blue because one of them has been painted before.
Let the highlights do the modelling
The surface can look raised even while the geometry stays flat. The fragment shader compares the height at a pixel with heights at neighbouring pixels to estimate which way the surface faces. A material capture texture, usually called a matcap, supplies the colour for that orientation. A bright edge can appear wherever the paint forms a ridge. Our toon water tutorial makes a useful second experiment because it uses scene depth to put foam lines beside objects. The information you sample depends on the feature you want the player to see.
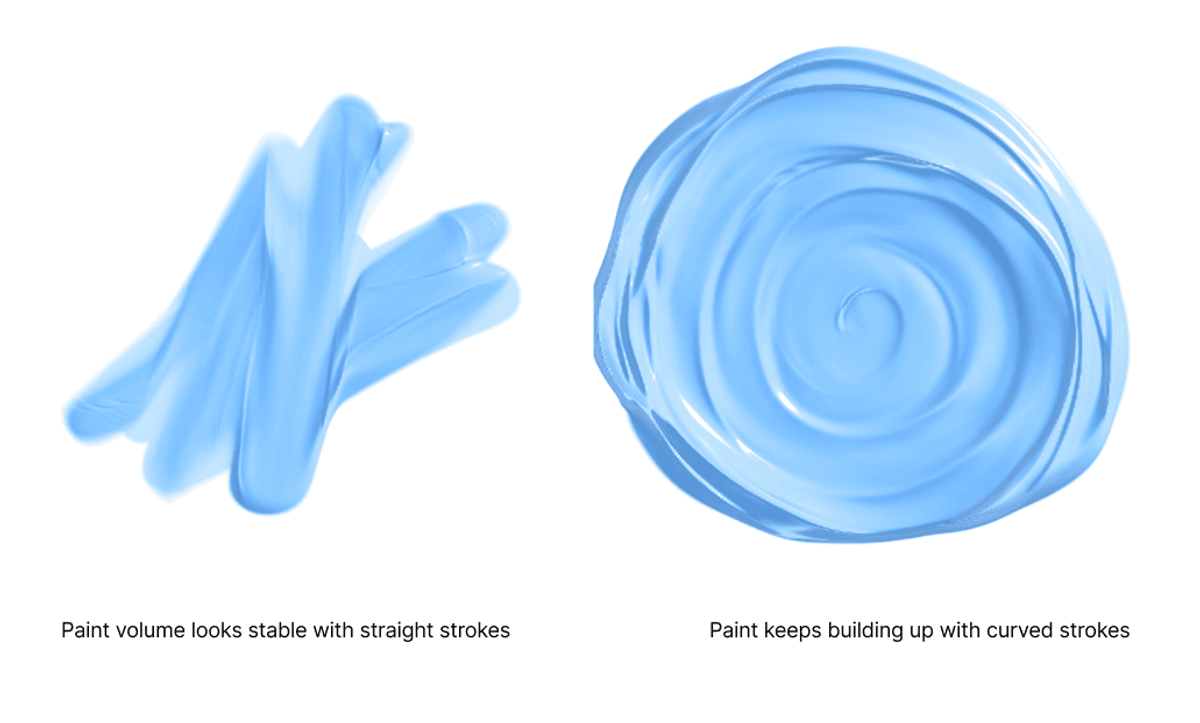
Try looking at Nakano’s demo in two passes. First drag a straight line and watch the highlight travel. Reset, then draw tight circles over the same patch. Curved strokes can appear to build up more material as multiple pixels sample the same source area. That’s a good property to know about before you promise players a puzzle where every drop counts.
Turn the effect into a game rule
For a jam-sized experiment, give the player a brush and put a light at the end of a short corridor. The light switches on when a painted route reaches it. Keep the rule in an easily inspected grid. A cell might become connected once the brush has covered its centre. The shader can then make a dramatic wet ridge without forcing gameplay code to interpret the brightness of a highlight. Follow one stroke across a cell boundary and check whether the light changes on the same frame the trail looks connected.
The V Shaders challenge entries give you several examples of what a single effect can contribute to a jam submission. If you’re working with Game Off’s Shift theme, you could give the same surface two states. Wet paint lets the character skate across a gap. Dry pigment marks the route for the return trip. For the first playtest, ask someone to point out the safe route before they move. Their answer will tell you whether the gleam and the stain are doing their separate jobs.

HTML5 Game Developer, Enclave Games indie studio founder, js13kGames competition creator and Gamedev.js Weekly newsletter publisher. Mozilla Tech Speaker, Gamedev.js community firestarter. Organizes meetups / workshops / hackathons in Poland, passionate about new, Open Web technologies, excited about WebXR and PWAs. Likes eating sushi and playing Neuroshima Hex.